I have been working on some things for a craft show that my dad is going to and I wanted to send a few things with him. Yesterday I spent most of my day making "Magic Reindeer Food and Snowman Poop"!
This should have been a quick and easy project for me but of course it wasn't. I had read on another blog where someone had used the paper you wrap items to be mailed in (sorry I can't think of the name but you get the picture) they had used this to print on. Well I am obviously challenged in this area because this didn't go so well for me. I measured it and cut long strips off the roll.....
I then cut the paper into 8 1/2" x 11" sheets to print the topper for my magic reindeer food. I should point out I have an older printer that has seen better days but it jammed almost every time I tried to print. The paper I bought came from the Dollar Tree so the more expensive kind might be thicker. Oh well on with the show....
This is what I used to make my magic reindeer food: cheap oats, colored sugar I bought mine at Wal-Mart but I have seen this at the Dollar Tree. I did find some clear bags at the Dollar Tree and it had 40 bags in the package. I also used a reindeer stamp that I purchased at Michael's but I forgot to put it in the picture.
I filled each bag with 1/4 cup of the oats
1/4 teaspoon each colored sugar, some of the recipes I looked at call for glitter and some of the ones I read suggested the sugar instead because it was better for the environment. I chose to use the sugar because it will dissolve when it snows or rains.
I folded the bags over and added a piece of tape to keep them closed then I added the top that I printed out.
As you can see I printed a couple on red paper but I really liked the rustic look the brown paper added. I plan on making some more and taking it to my students I don't really think they will mind which kind of paper I decide to use.
The saying that goes along with the reindeer food is:
Sprinkle on the lawn on Christmas Eve night
The moon will make it sparkle bright
As Santa's reindeer fly and roam
This will guide them to your home
Now onto the snowman poop.
Here is what you will need: One bag of miniature marshmallows, more of the small bags like I used for the reindeer food (be sure to check at the Dollar Tree in the party supply area for ones like I used), snowman stamp and stamp pad and a stapler.
Because I am OCD I put 12 marshmallows in each bag. I know you are laughing but I ended up being able to fill 40 bags and I only had 2 marshmallows left so just think what could have happened if I hadn't counted. I used blue paper for the topper and printed the saying out onto it and then added the stamp.
I didn't tape these because I wasn't worried the marshmallows might fall out. I also need to add that I cut the toppers for both projects 4" x4" folded them in half and stapled.
I think they both turned out cute, who wouldn't want to receive either of these?
I almost forgot here is what the snowman poop said:
Hear you have been naughty
So here is the scoop....
All you get this year is
SNOWMAN POOP
I hope you like these two projects and will make some reindeer food for your children, grandchildren or children who are special to you and well the snowman poop for someone who needs a laugh.
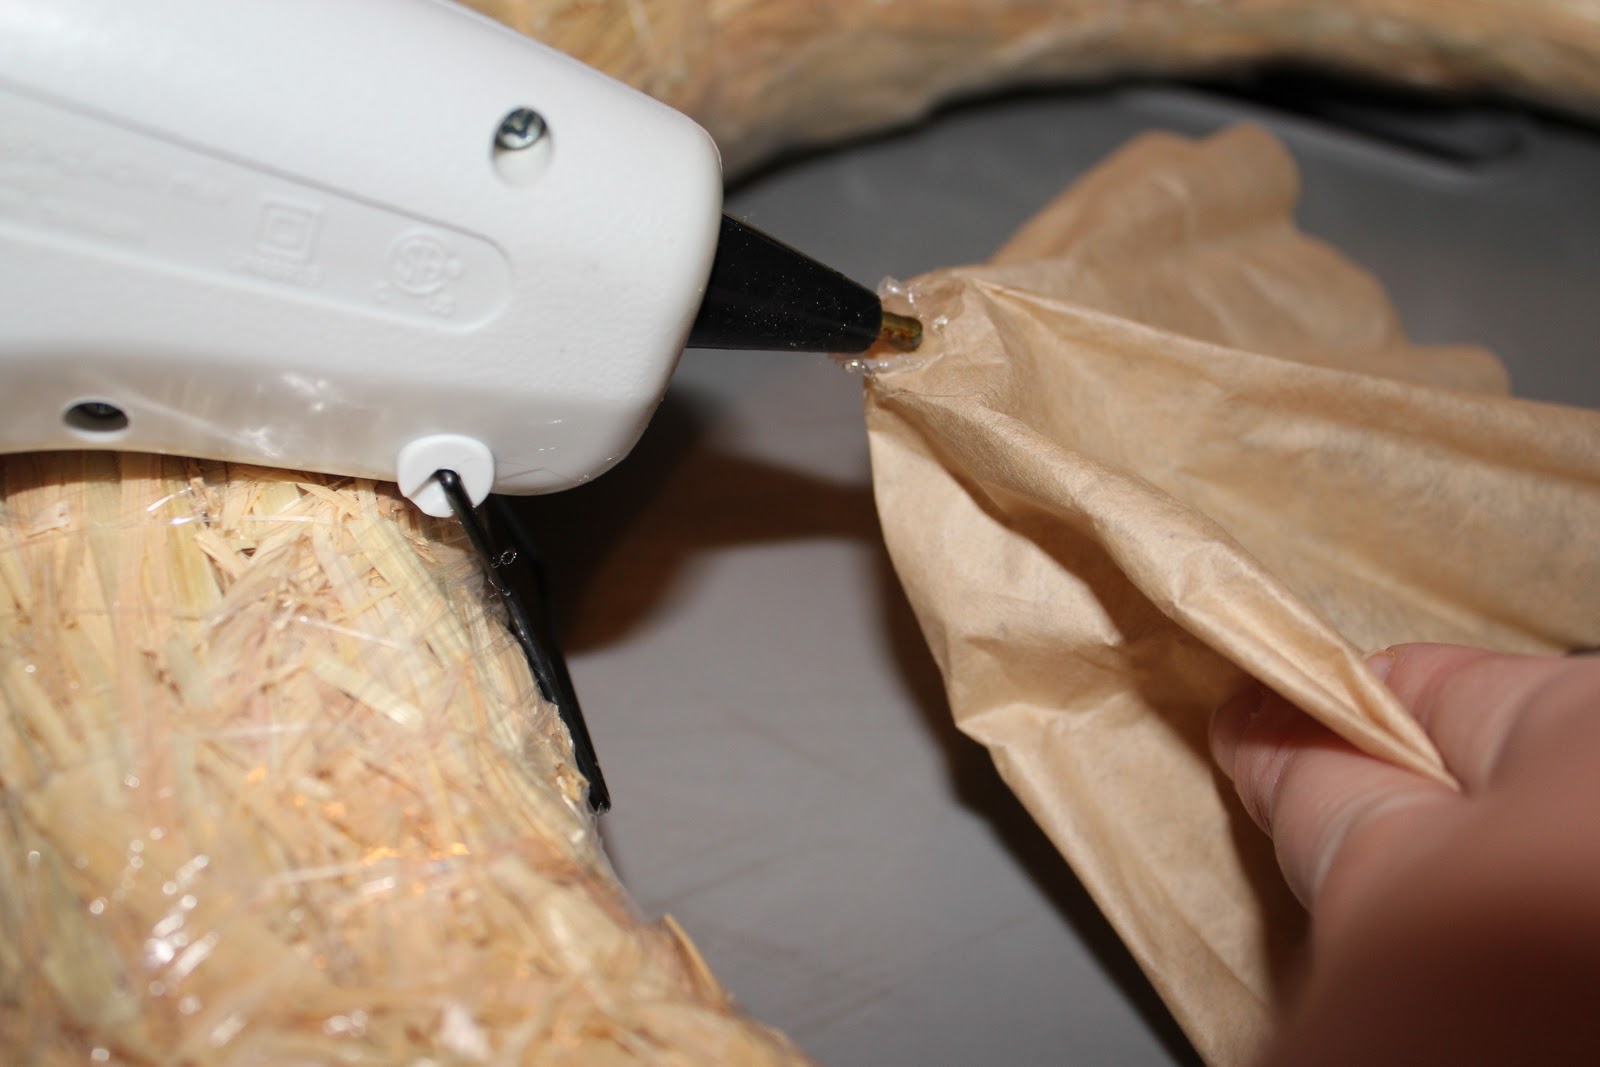
I have some more projects I am finishing up and will post about soon. Here is a peak at one I am working on. . . . . .
While you decide what I am working on I hope you have a blessed day.
Penny